


Types of Starter Armature Systems
A starter motor is a critical component in internal combustion engines, providing the initial power stroke to start the engine's operation. Understanding the different types and components of starter systems is essential for proper maintenance and troubleshooting.
Manual Starter Systems
Used primarily in small engines where an electric starter would be impractical due to size or weight constraints. These systems require physical effort to start the engine.
- Pull-cord mechanisms in lawnmowers and chainsaws
- Kick-start mechanisms in motorcycles
- Hand-crank systems in older vehicles
Best for: Small engines, emergency backup systems, lightweight applications
Automatic Starter Systems
Found in most modern vehicles and larger engines, these systems use electrical power to engage and crank the engine automatically with minimal operator input.
- Direct-drive starters for standard vehicles
- Gear-reduction starters for higher torque applications
- Permanent magnet starters for efficiency
Best for: Passenger vehicles, commercial equipment, consistent starting performance
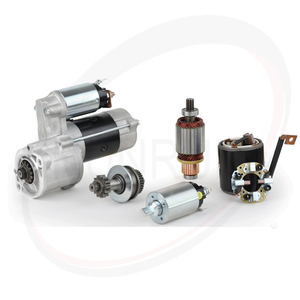
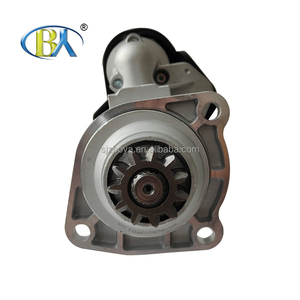
Key Components of Automatic Starter Systems
| Component | Function | Characteristics |
|---|---|---|
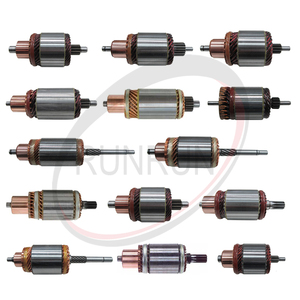
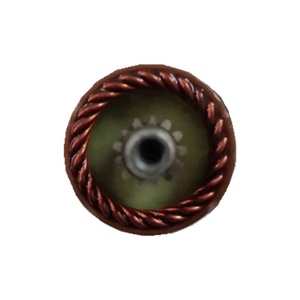
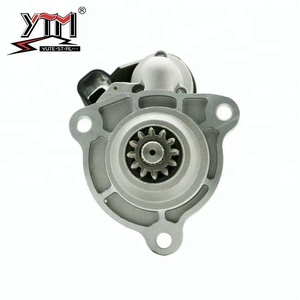
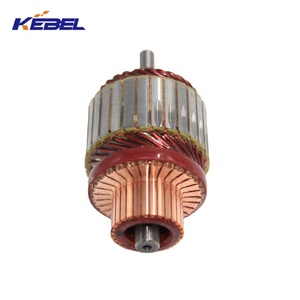
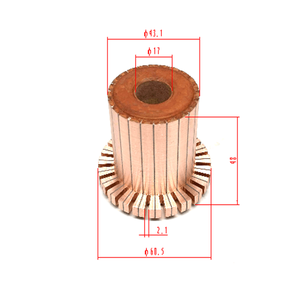
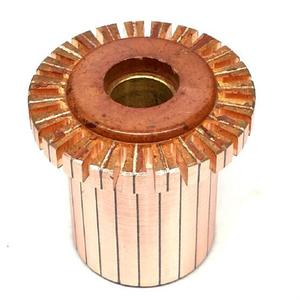
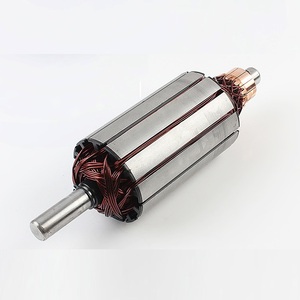
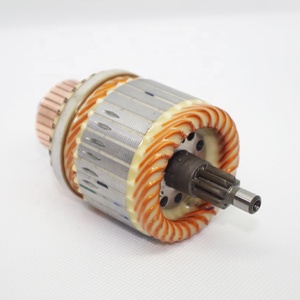
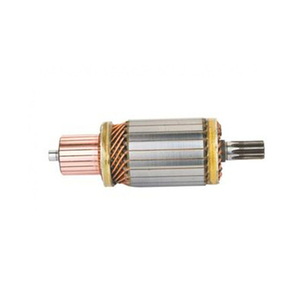
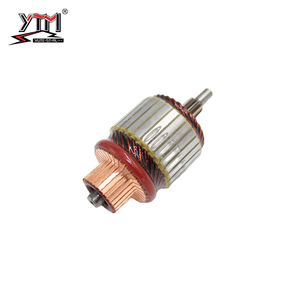
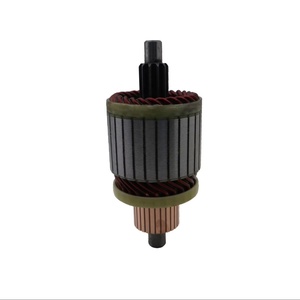
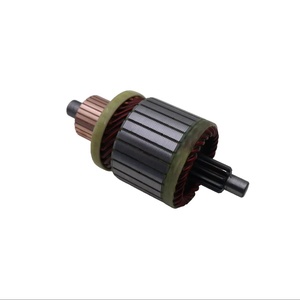
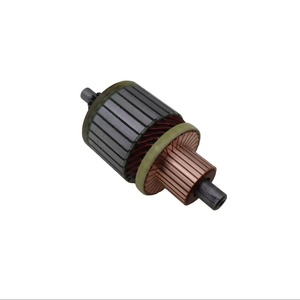
| Starter Armature | Rotating part that generates torque | Copper/aluminum construction, mounted on shaft with bearings |
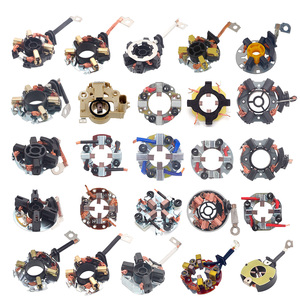
| Starter Field | Stationary part creating magnetic field | Uses permanent magnets or electromagnets within motor casing |
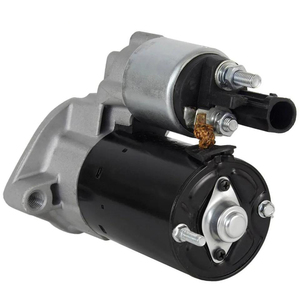
| Starter Solenoid | Controls battery-to-motor connection | Electromechanical switch activated by ignition |
| Starter Switch | Controls power to solenoid | Part of ignition system, operated by driver |
| Starter Relay | Controls current flow | Enables high-current flow when activated by low-current signal |
Expert Tip: The interaction between the starter armature and field coils creates the rotational force needed to crank the engine. The quality of these components directly affects starting reliability, especially in extreme temperatures.
Specifications and Maintenance of Starter Armatures
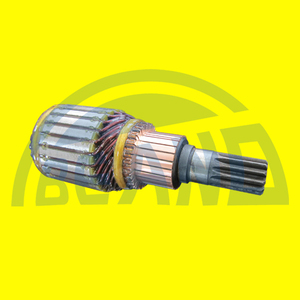
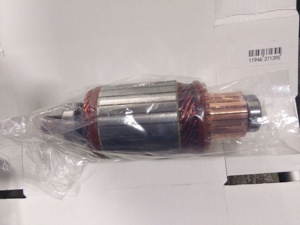
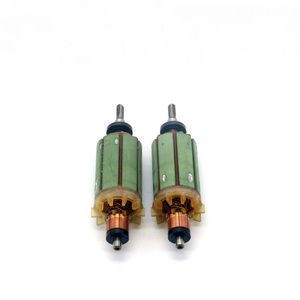
The starter armature is the heart of any starter motor, generating the torque necessary to crank the engine. Proper understanding of specifications and maintenance requirements is essential for optimal performance and longevity.
Critical Specifications for Starter Armatures
| Specification | Typical Range | Importance |
|---|---|---|
| Voltage Rating | 12V (Standard), 24V (Heavy-duty) | Must match vehicle electrical system |
| Current Rating | 200-600 Amps | Determines cranking power |
| Material | Copper or Aluminum | Affects durability and performance |
| Size | Vehicle-specific | Must be compatible with starter motor housing |
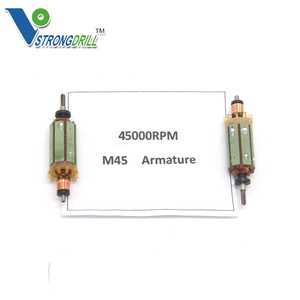
| Speed Rating | 2,000-6,000 RPM | Determines cranking efficiency |
| Heat Resistance | Temperature specific | Prevents warping and damage |
Material Comparison
Copper Armatures
Advantages:
- Superior electrical conductivity
- Better cranking power
- Enhanced durability
- Better performance in extreme temperatures
Disadvantages:
- Higher cost
- Heavier weight
- More susceptible to thermal expansion
Aluminum Armatures
Advantages:
- Lightweight construction
- Better corrosion resistance
- Lower cost
- Good heat dissipation
Disadvantages:
- Lower electrical conductivity
- Reduced cranking power
- Less durable under heavy use
Essential Maintenance Practices
- Regular Inspection
Check for wear, damage, or corrosion on a quarterly basis or whenever starting issues occur. - Proper Lubrication
Apply high-temperature bearing grease to moving parts during service intervals. - Clean Electrical Connections
Remove corrosion and ensure tight connections to prevent voltage drop. - Proper Starting Technique
Limit cranking to 10-15 seconds at a time with 1-minute cooling periods between attempts. - Battery Maintenance
Keep the battery fully charged and connections clean to reduce strain on the starter armature.
Warning: Continuous cranking can cause overheating and permanent damage to the starter armature. If the engine doesn't start after three attempts, investigate other potential issues before continuing to crank.
How to Choose the Right Starter Armature
Selecting the appropriate starter armature for your vehicle or equipment is critical for reliable starting and long-term performance. This guide will help you navigate the selection process with confidence.
Key Selection Criteria
| Selection Factor | Considerations | Impact on Performance |
|---|---|---|
| Engine Size and Type | Larger engines require more powerful starters | Insufficient power leads to slow cranking or failure to start |
| Voltage Compatibility | Must match vehicle's electrical system (12V or 24V) | Incorrect voltage can damage electrical components |
| Physical Compatibility | Correct dimensions and mounting pattern | Improper fit causes alignment issues or installation problems |
| Manufacturer Quality | Reputation, warranty, materials used | Higher quality typically means better reliability and longevity |
| Price Considerations | Balance between budget and quality | False economy often leads to premature replacement |
Matching Armature to Vehicle Type
Passenger Vehicles
Standard 12V systems with moderate cranking requirements. Look for:
- Current rating: 200-400 amps
- OEM specification matching
- Lightweight designs for fuel efficiency
Commercial Vehicles
Heavy-duty applications with demanding start cycles. Consider:
- Higher current ratings (400-600 amps)
- 24V systems for larger engines
- Enhanced durability features
- Heat-resistant materials
Performance Applications
High-compression or modified engines. Prioritize:
- Gear reduction technologies
- Copper windings for better conductivity
- High-torque specifications
- Racing-grade components
Expert Tip: Always verify compatibility with your specific vehicle model and engine type. When upgrading or modifying an engine, consider upgrading to a higher-capacity starter armature to accommodate the increased cranking requirements.
DIY Starter Armature Replacement Guide
Replacing a starter armature requires technical knowledge and mechanical skills but can be accomplished by experienced DIY mechanics. Follow this step-by-step guide for a successful replacement process.
Safety Warning: Working with electrical components can be dangerous. Always disconnect the battery completely before beginning work. Wear appropriate safety gear including eye protection and insulated gloves.
Tools and Materials Needed
Essential Tools
- Socket set and wrenches
- Screwdrivers (Phillips and flathead)
- Safety glasses and gloves
- Wire brush for cleaning
- Multimeter for testing
Materials
- Replacement starter armature (matching specifications)
- High-temperature grease
- Electrical contact cleaner
- Anti-seize compound
- Electrical tape
Step-by-Step Replacement Process
-
Safety Preparations
Park on level ground, engage parking brake, put transmission in Park/Neutral, and turn off ignition. Wait 15 minutes for electrical systems to discharge.
-
Battery Disconnection
Disconnect negative (black) terminal first, then positive (red) terminal. Secure cables away from battery posts to prevent accidental contact.
-
Starter Motor Removal
Locate the starter (typically on lower engine near transmission). Disconnect electrical connections (label if necessary). Remove mounting bolts and extract starter assembly.
-
Starter Disassembly
Carefully disassemble the starter casing using appropriate tools. Document or photograph the arrangement of components for reference during reassembly.
-
Armature Inspection and Replacement
Examine the existing armature for damage. Remove it carefully and insert the new armature, ensuring proper alignment with field windings and commutator.
-
Reassembly
Apply appropriate lubricant to bushings and moving parts. Reassemble the starter housing in reverse order, ensuring all components are properly aligned and secured.
-
Reinstallation
Mount the starter back into position, tightening bolts to manufacturer specifications. Reconnect all electrical terminals securely.
-
Battery Reconnection
Reconnect the positive (red) terminal first, followed by the negative (black) terminal. Ensure connections are clean and tight.
-
Testing
Turn the ignition to start position to test functionality. Listen for smooth operation without unusual noises. If successful, the engine should crank normally.
Professional Tip: If you're unsure about any step in the process, consult a factory service manual specific to your vehicle model. Many auto parts stores offer free testing of starter components if you're uncertain about the source of starting problems.
Frequently Asked Questions
The starter armature is located inside the starter motor assembly. The starter motor itself is typically mounted on the engine block near the flywheel or flexplate, usually on the lower side of the engine where it connects to the transmission. The armature is the central rotating component within this assembly that generates the torque needed to crank the engine.
The starter armature works with several critical components to start a vehicle:
- Starter Field Winding: Creates a magnetic field that interacts with the armature to generate torque
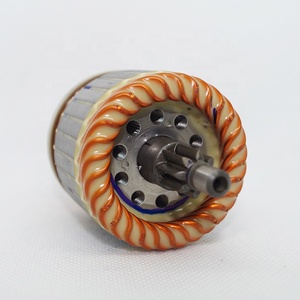
- Commutator: Transfers electrical current to the armature windings as it rotates
- Brushes: Maintain electrical contact with the commutator during rotation
- Solenoid: Engages the starter drive with the engine's flywheel and completes the electrical circuit
- Starter Drive/Bendix: Mechanically connects the armature to the engine's flywheel during starting
- Battery: Provides the electrical power necessary for starter operation
- Ignition Switch: Activates the starter circuit when turned to the start position
The starter armature and field winding serve different but complementary functions:
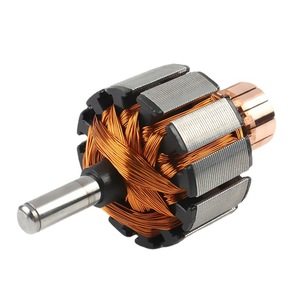
Starter Armature
- Rotating component that generates mechanical torque
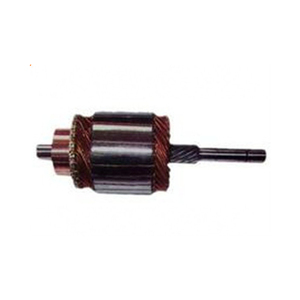
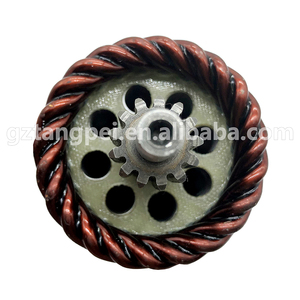
- Contains wire windings wrapped around an iron core
- Connected to the starter drive that engages with the flywheel
- Receives electrical current through the commutator and brushes
- Movement is the result of electromagnetic interaction
Field Winding
- Stationary component that creates the magnetic field
- Located in the starter housing surrounding the armature
- May use electromagnets or permanent magnets
- Creates the stationary magnetic field that the armature reacts against
- Does not move during starter operation
The interaction between these two components creates the rotational force needed to crank the engine. When current flows through both the field winding and armature winding, their magnetic fields interact, causing the armature to rotate and subsequently turn the engine's flywheel.
Look for these warning signs that indicate a failing starter armature:
- Grinding or unusual noises during starting
- Slow cranking speed even with a fully charged battery
- Intermittent starting failures
- Smoke or burning smell from the starter area
- Visible physical damage or excessive wear on armature components
- Electrical testing showing shorts or opens in the armature windings
If you experience these symptoms, have the starter tested by a professional or use a multimeter to check for continuity issues in the armature windings.
A quality starter armature typically lasts between 80,000 to 150,000 miles (130,000 to 240,000 kilometers) in normal driving conditions. However, several factors can significantly affect this lifespan:
- Frequency of vehicle starts (short-trip drivers experience more wear)
- Environmental conditions (extreme temperatures accelerate wear)
- Battery condition (weak batteries cause longer cranking times)
- Engine condition (high compression or mechanical issues increase strain)
- Driving habits (holding the key in start position after engine catches)
Regular maintenance of the entire starting system can help maximize the lifespan of your starter armature.


 浙公网安备 33010002000092号
 浙B2-20120091-4